


Overview
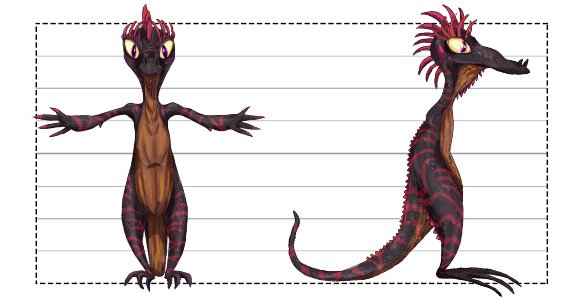
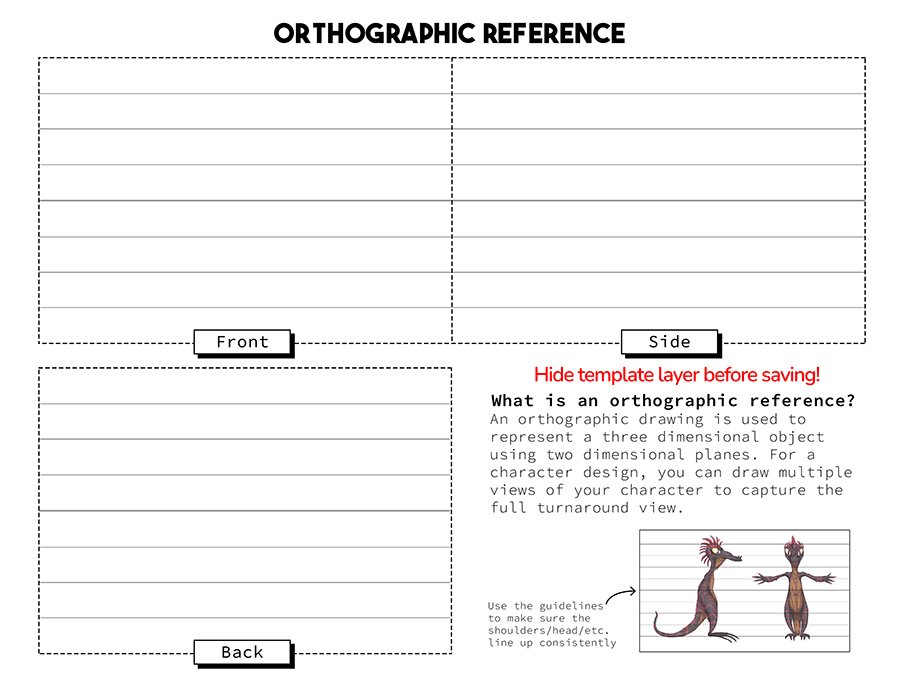
You might know it as a “T-Pose” or “Ref Sheet”, an orthographic reference is a 2D view of a character or object in a neutral state used to communicate the features as clearly and concisely as possible. These reference images are sometimes used in game design to create a 3D version of the object, or to keep a design consistent throughout production.
Template Breakdown
Let’s take a look at the file you’ll be using for this project:
Hover over a layer to see a breakdown of the demo project.
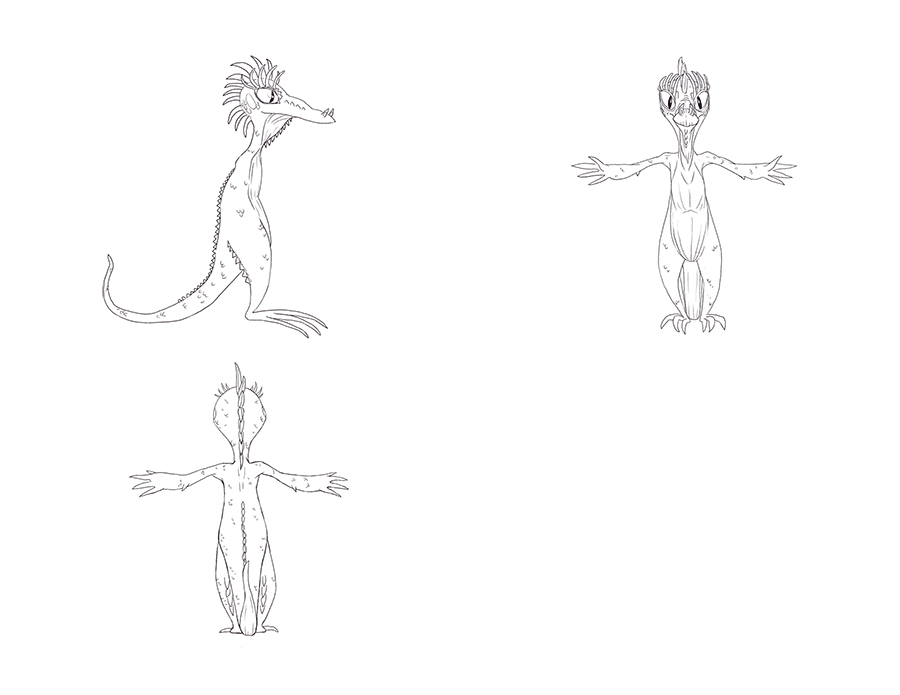
LINE
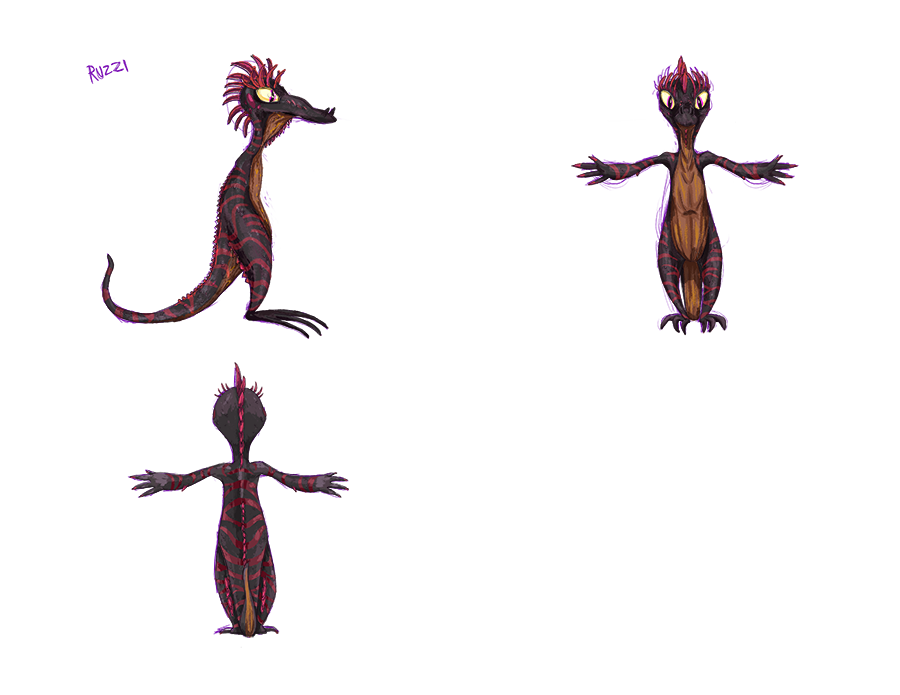
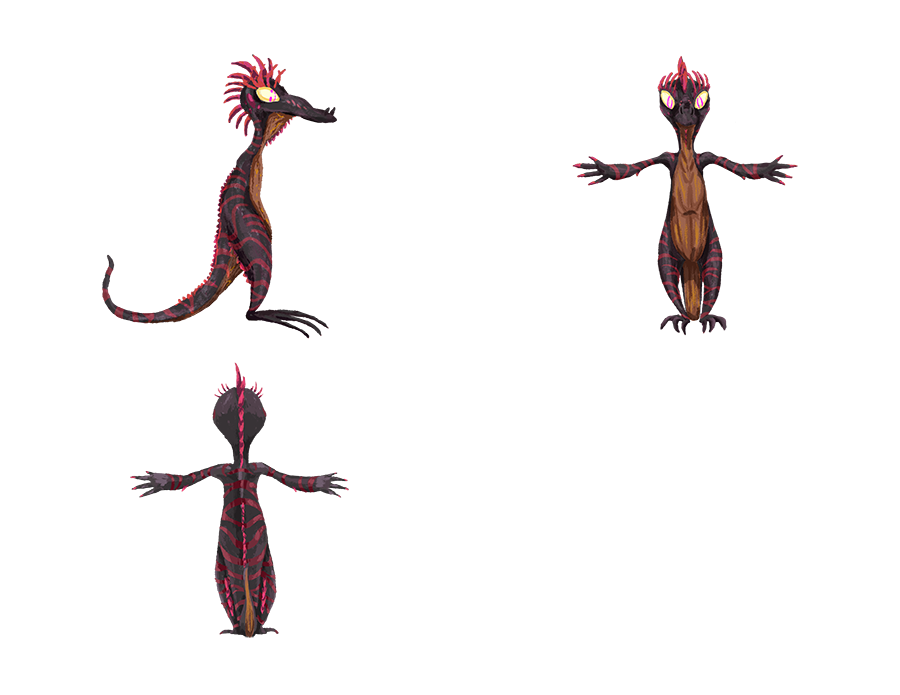
COLOR
SKETCH
ALL LAYERS
TEMPLATE
Instructions
1. Setup
∙ Download the project file to your Working Folder.
∙ Open the file in your chosen drawing app.
∙ Save a new version (File > Save As) as charactername_ortho (replace “charactername” with the name of your character).
∙ Open the file in your chosen drawing app.
∙ Save a new version (File > Save As) as charactername_ortho (replace “charactername” with the name of your character).
2. Create
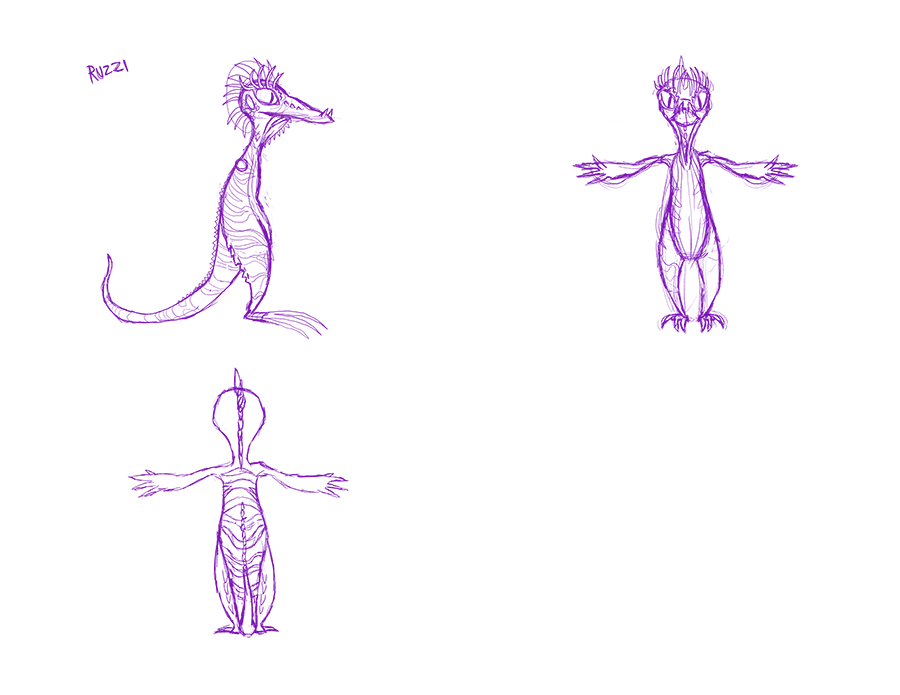
Step 1: The Sketch
∙ Select a neutral color and small brush (3 to 6px) to be your sketching brush.
∙ Sketch your design on the layer called “SKETCH”.
∙ Sketch out all three views before moving on to the next step.
∙ Sketch your design on the layer called “SKETCH”.
∙ Sketch out all three views before moving on to the next step.
Step 2: The Line
∙ Next move to the layer called “LINE”.
∙ Using a slightly thicker brush (6-10px) in a dark color to complete your linework.
∙ Trace your sketch using the thicker brush. Try to keep your lines clean and clear.
Pretend you will be handing this design off to someone to make a 3D model: if the lines are too messy the modeler won’t know how to model it!
Step 3: Color Flats
∙ Move on to the “COLOR” layer.
∙ Using an even bigger brush, start blocking out the color for your character.
∙ Fill in each part of your character with a flat color- don’t worry about shading or lighting at this stage.
∙ Adjust the size of the brush as needed to get the details.
∙ Using an even bigger brush, start blocking out the color for your character.
∙ Fill in each part of your character with a flat color- don’t worry about shading or lighting at this stage.
∙ Adjust the size of the brush as needed to get the details.
Step 4: Color Lighting
∙ Sticking to the COLOR layer, go back in and add some shadows and highlights to your design.
You may want to adjust the opacity of your brush for more natural shading, or keep the brush opaque if you want a toon/cell-shaded look.
You may want to adjust the opacity of your brush for more natural shading, or keep the brush opaque if you want a toon/cell-shaded look.
3. Finishing
∙ Save your working file as you have hopefully been doing this whole time by pushing “Ctrl+S” or going to File > Save.
∙ Hide the layer called “TEMPLATE”.
∙ Go to File > Save As and save the file as a .png in the “file type” drop-down menu.
∙ Hide the layer called “TEMPLATE”.
∙ Go to File > Save As and save the file as a .png in the “file type” drop-down menu.